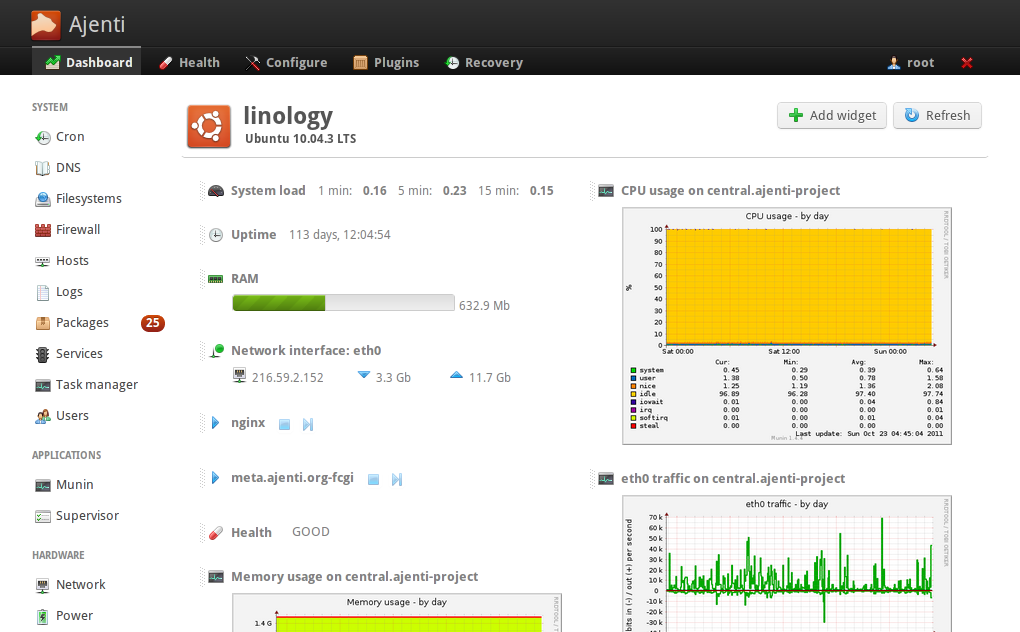
A shared hosting panel is a control panel that provides a web-based interface to manage your web hosting account. With a shared hosting panel, you can perform various tasks such as adding or removing domains, creating email accounts, managing databases, and more.
How to Use a Shared Hosting Panel?
- A shared hosting panel is a web-based interface that allows you to manage your website’s hosting account. This article will show you how to use a shared hosting panel to control your account.
- First, you will need to log in to your shared hosting panel. This can be done by going to the website of your hosting provider and clicking on the “Control Panel” or “My Account” link.
- Once you have logged in, you will be taken to the main page of your shared hosting panel. From here, you can manage all aspects of your account, including adding email accounts, databases, and FTP accounts.
- To add an email account, click on the “Email Accounts” link. Then, enter the desired username and password for the account. You can also set the quota for the account, which is the amount of disk space that the account can use.
- To add a database, click on the “Databases” link. Then, enter the desired name for the database and select the type of database you would like to create. MySQL is the most popular type of database used with websites.
- To add an FTP account, click on the “FTP Accounts” link. Then, enter the desired username and password for the account. You can also set the quota for the account, which is the amount of disk space that the account can use.
- That’s it! You now know how to use a shared hosting panel to manage your website’s hosting account.

